This article is more than one year old. Older articles may contain outdated content. Check that the information in the page has not become incorrect since its publication.
Running Kubernetes locally on Linux with Microk8s
This article, the second in a series about local deployment options on Linux, and covers MicroK8s. Microk8s is the click-and-run solution for deploying a Kubernetes cluster locally, originally developed by Canonical, the publisher of Ubuntu.
While Minikube usually spins up a local virtual machine (VM) for the Kubernetes cluster, MicroK8s doesn’t require a VM. It uses snap packages, an application packaging and isolation technology.
This difference has its pros and cons. Here we’ll discuss a few of the interesting differences, and comparing the benefits of a VM based approach with the benefits of a non-VM approach. One of the first factors is cross-platform portability. While a Minikube VM is portable across operating systems - it supports not only Linux, but Windows, macOS, and even FreeBSD - Microk8s requires Linux, and only on those distributions that support snaps. Most popular Linux distributions are supported.
Another factor to consider is resource consumption. While a VM appliance gives you greater portability, it does mean you’ll consume more resources to run the VM, primarily because the VM ships a complete operating system, and runs on top of a hypervisor. You’ll consume more disk space when the VM is dormant. You’ll consume more RAM and CPU while it is running. Since Microk8s doesn’t require spinning up a virtual machine you’ll have more resources to run your workloads and other applications. Given its smaller footprint, MicroK8s is ideal for IoT devices - you can even use it on a Raspberry Pi device!
Finally, the projects appear to follow a different release cadence and strategy. MicroK8s, and snaps in general provide channels that allow you to consume beta and release candidate versions of new releases of Kubernetes, as well as the previous stable release. Microk8s generally releases the stable release of upstream Kubernetes almost immediately.
But wait, there’s more! Minikube and MicroK8s both started as single-node clusters. Essentially, they allow you to create a Kubernetes cluster with a single worker node. That is about to change - there’s an early alpha release of MicroK8s that includes clustering. With this capability, you can create Kubernetes clusters with as many worker nodes as you wish. This is effectively an un-opinionated option for creating a cluster - the developer must create the network connectivity between the nodes, as well as integrate with other infrastructure that may be required, like an external load-balancer. In summary, MicroK8s offers a quick and easy way to turn a handful of computers or VMs into a multi-node Kubernetes cluster. We’ll write more about this kind of architecture in a future article.
Disclaimer
This is not an official guide to MicroK8s. You may find detailed information on running and using MicroK8s on it's official webpage, where different use cases, operating systems, environments, etc. are covered. Instead, the purpose of this post is to provide clear and easy guidelines for running MicroK8s on Linux.
Prerequisites
A Linux distribution that supports snaps, is required. In this guide, we’ll use Ubuntu 18.04 LTS, it supports snaps out-of-the-box. If you are interested in running Microk8s on Windows or Mac, you should check out Multipass to stand up a quick Ubuntu VM as the official way to run virtual Ubuntu on your system.
MicroK8s installation
MicroK8s installation is straightforward:
sudo snap install microk8s --classic
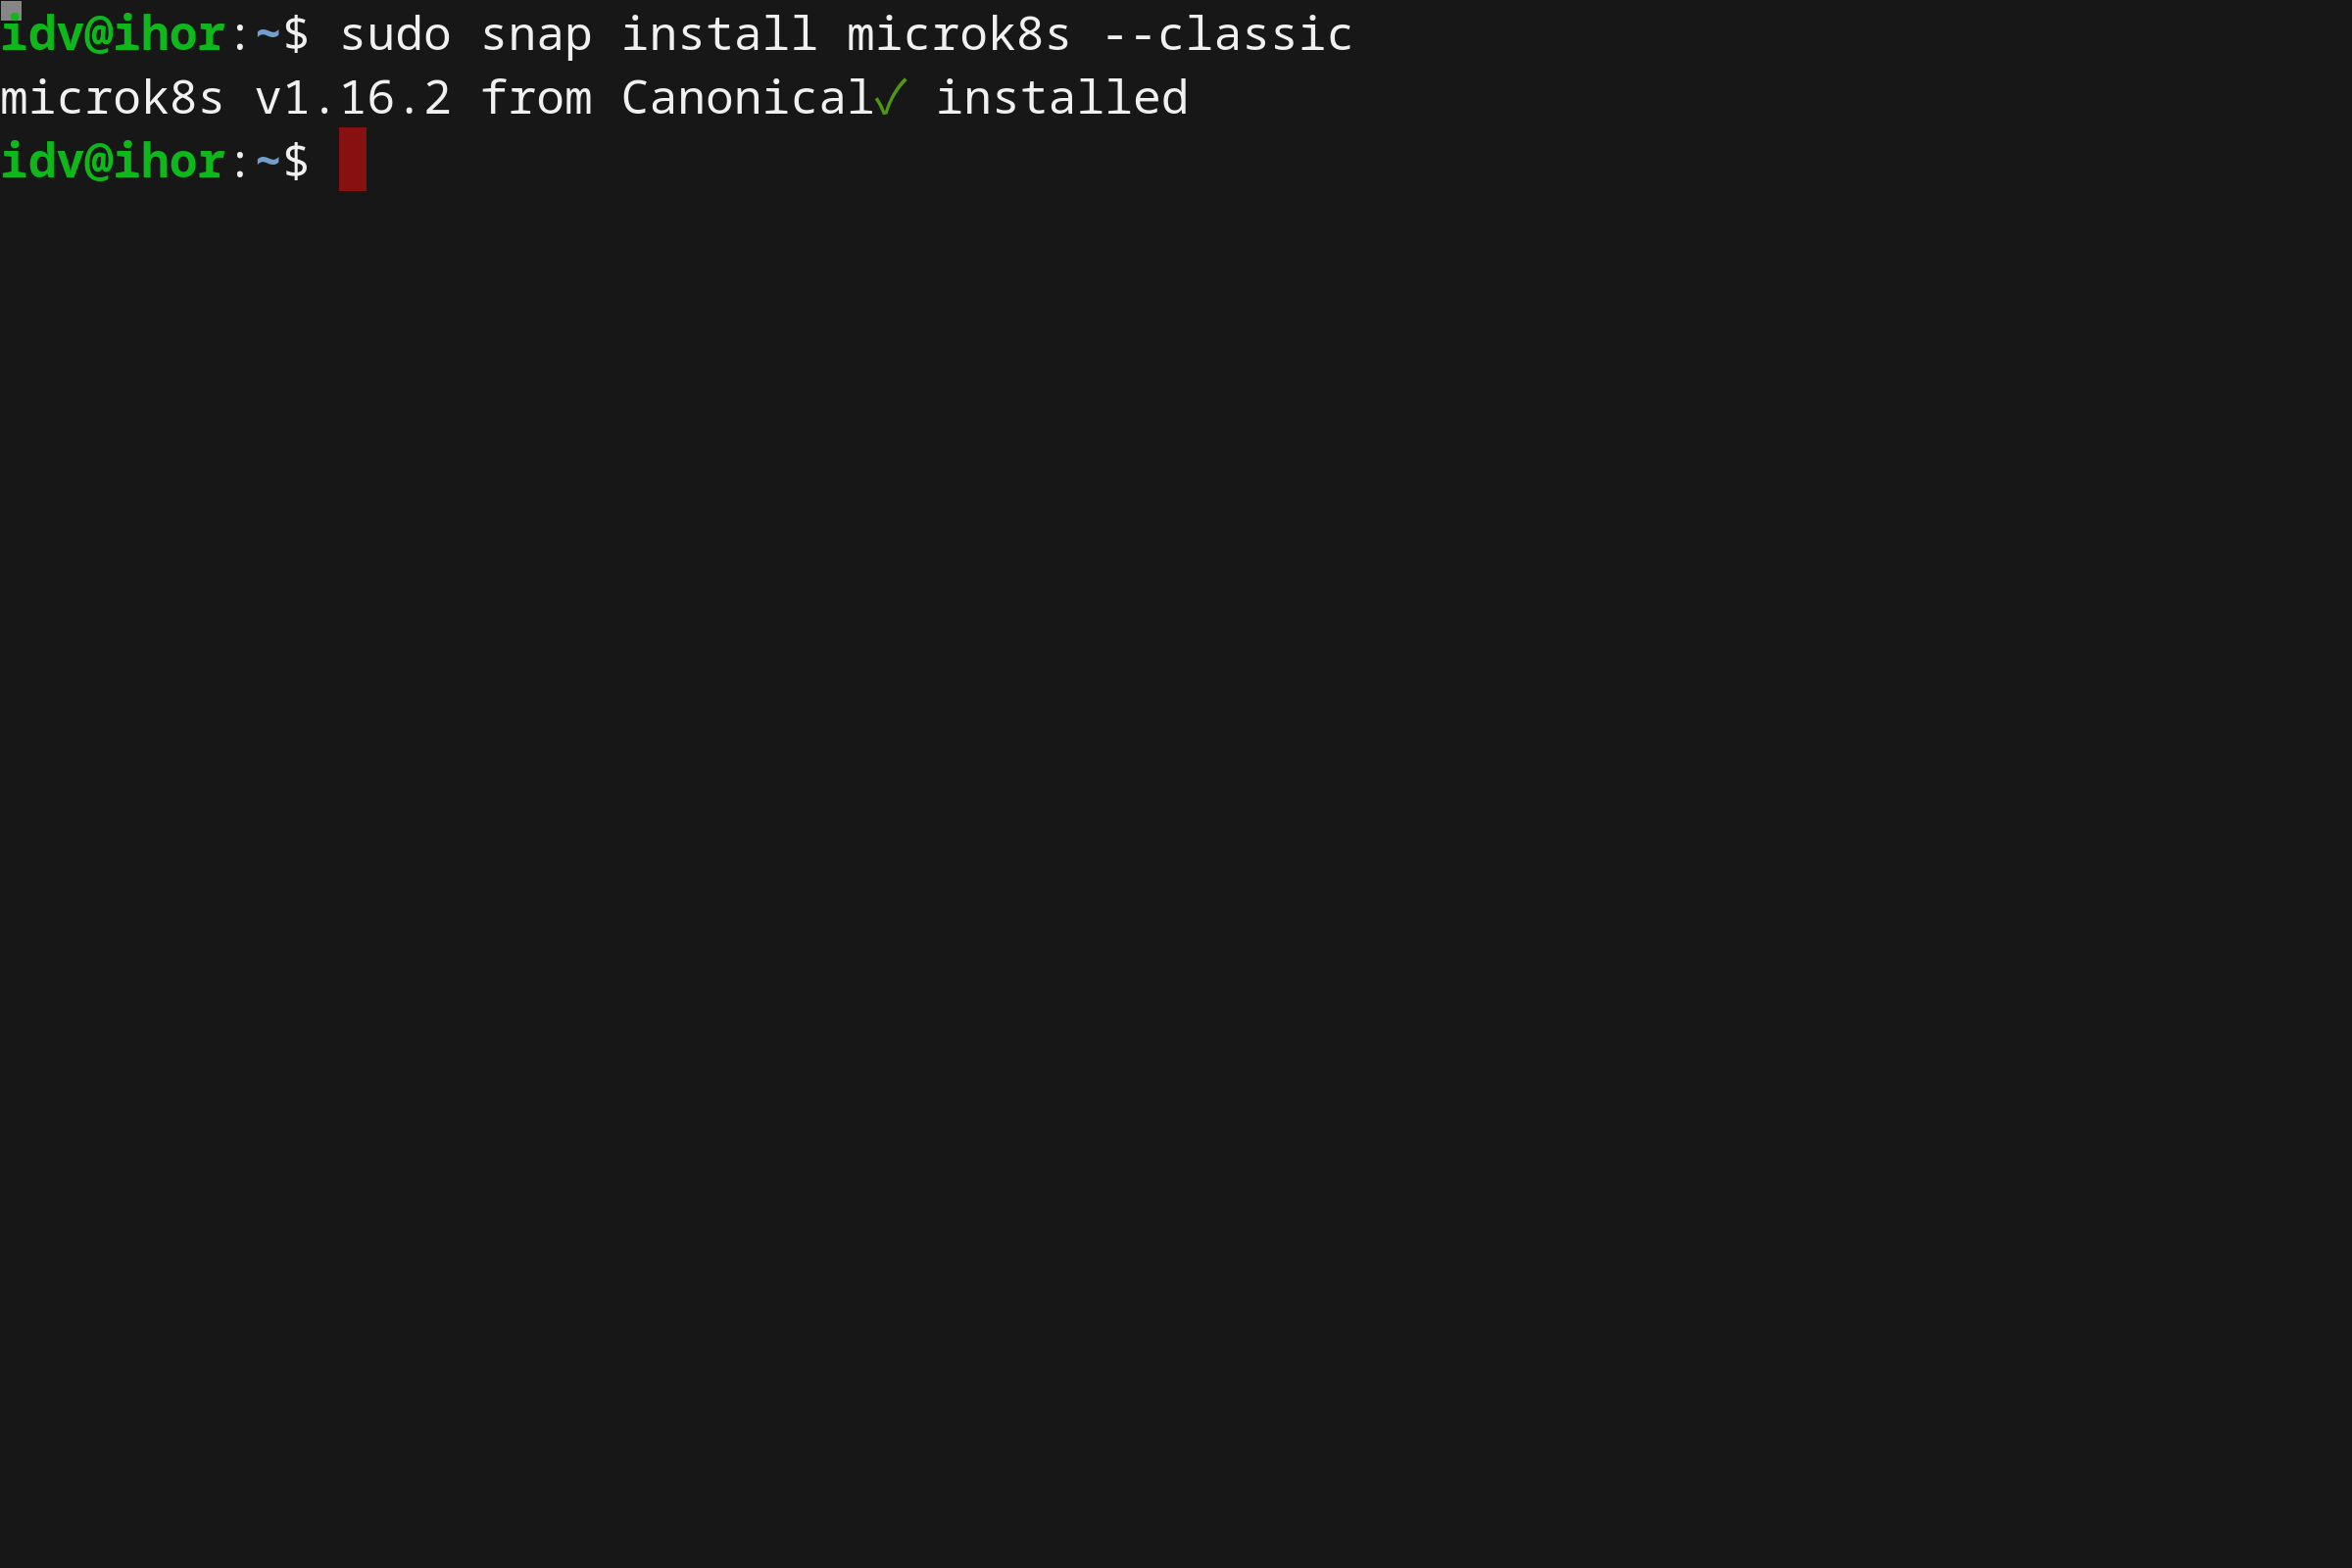
The command above installs a local single-node Kubernetes cluster in seconds. Once the command execution is finished, your Kubernetes cluster is up and running.
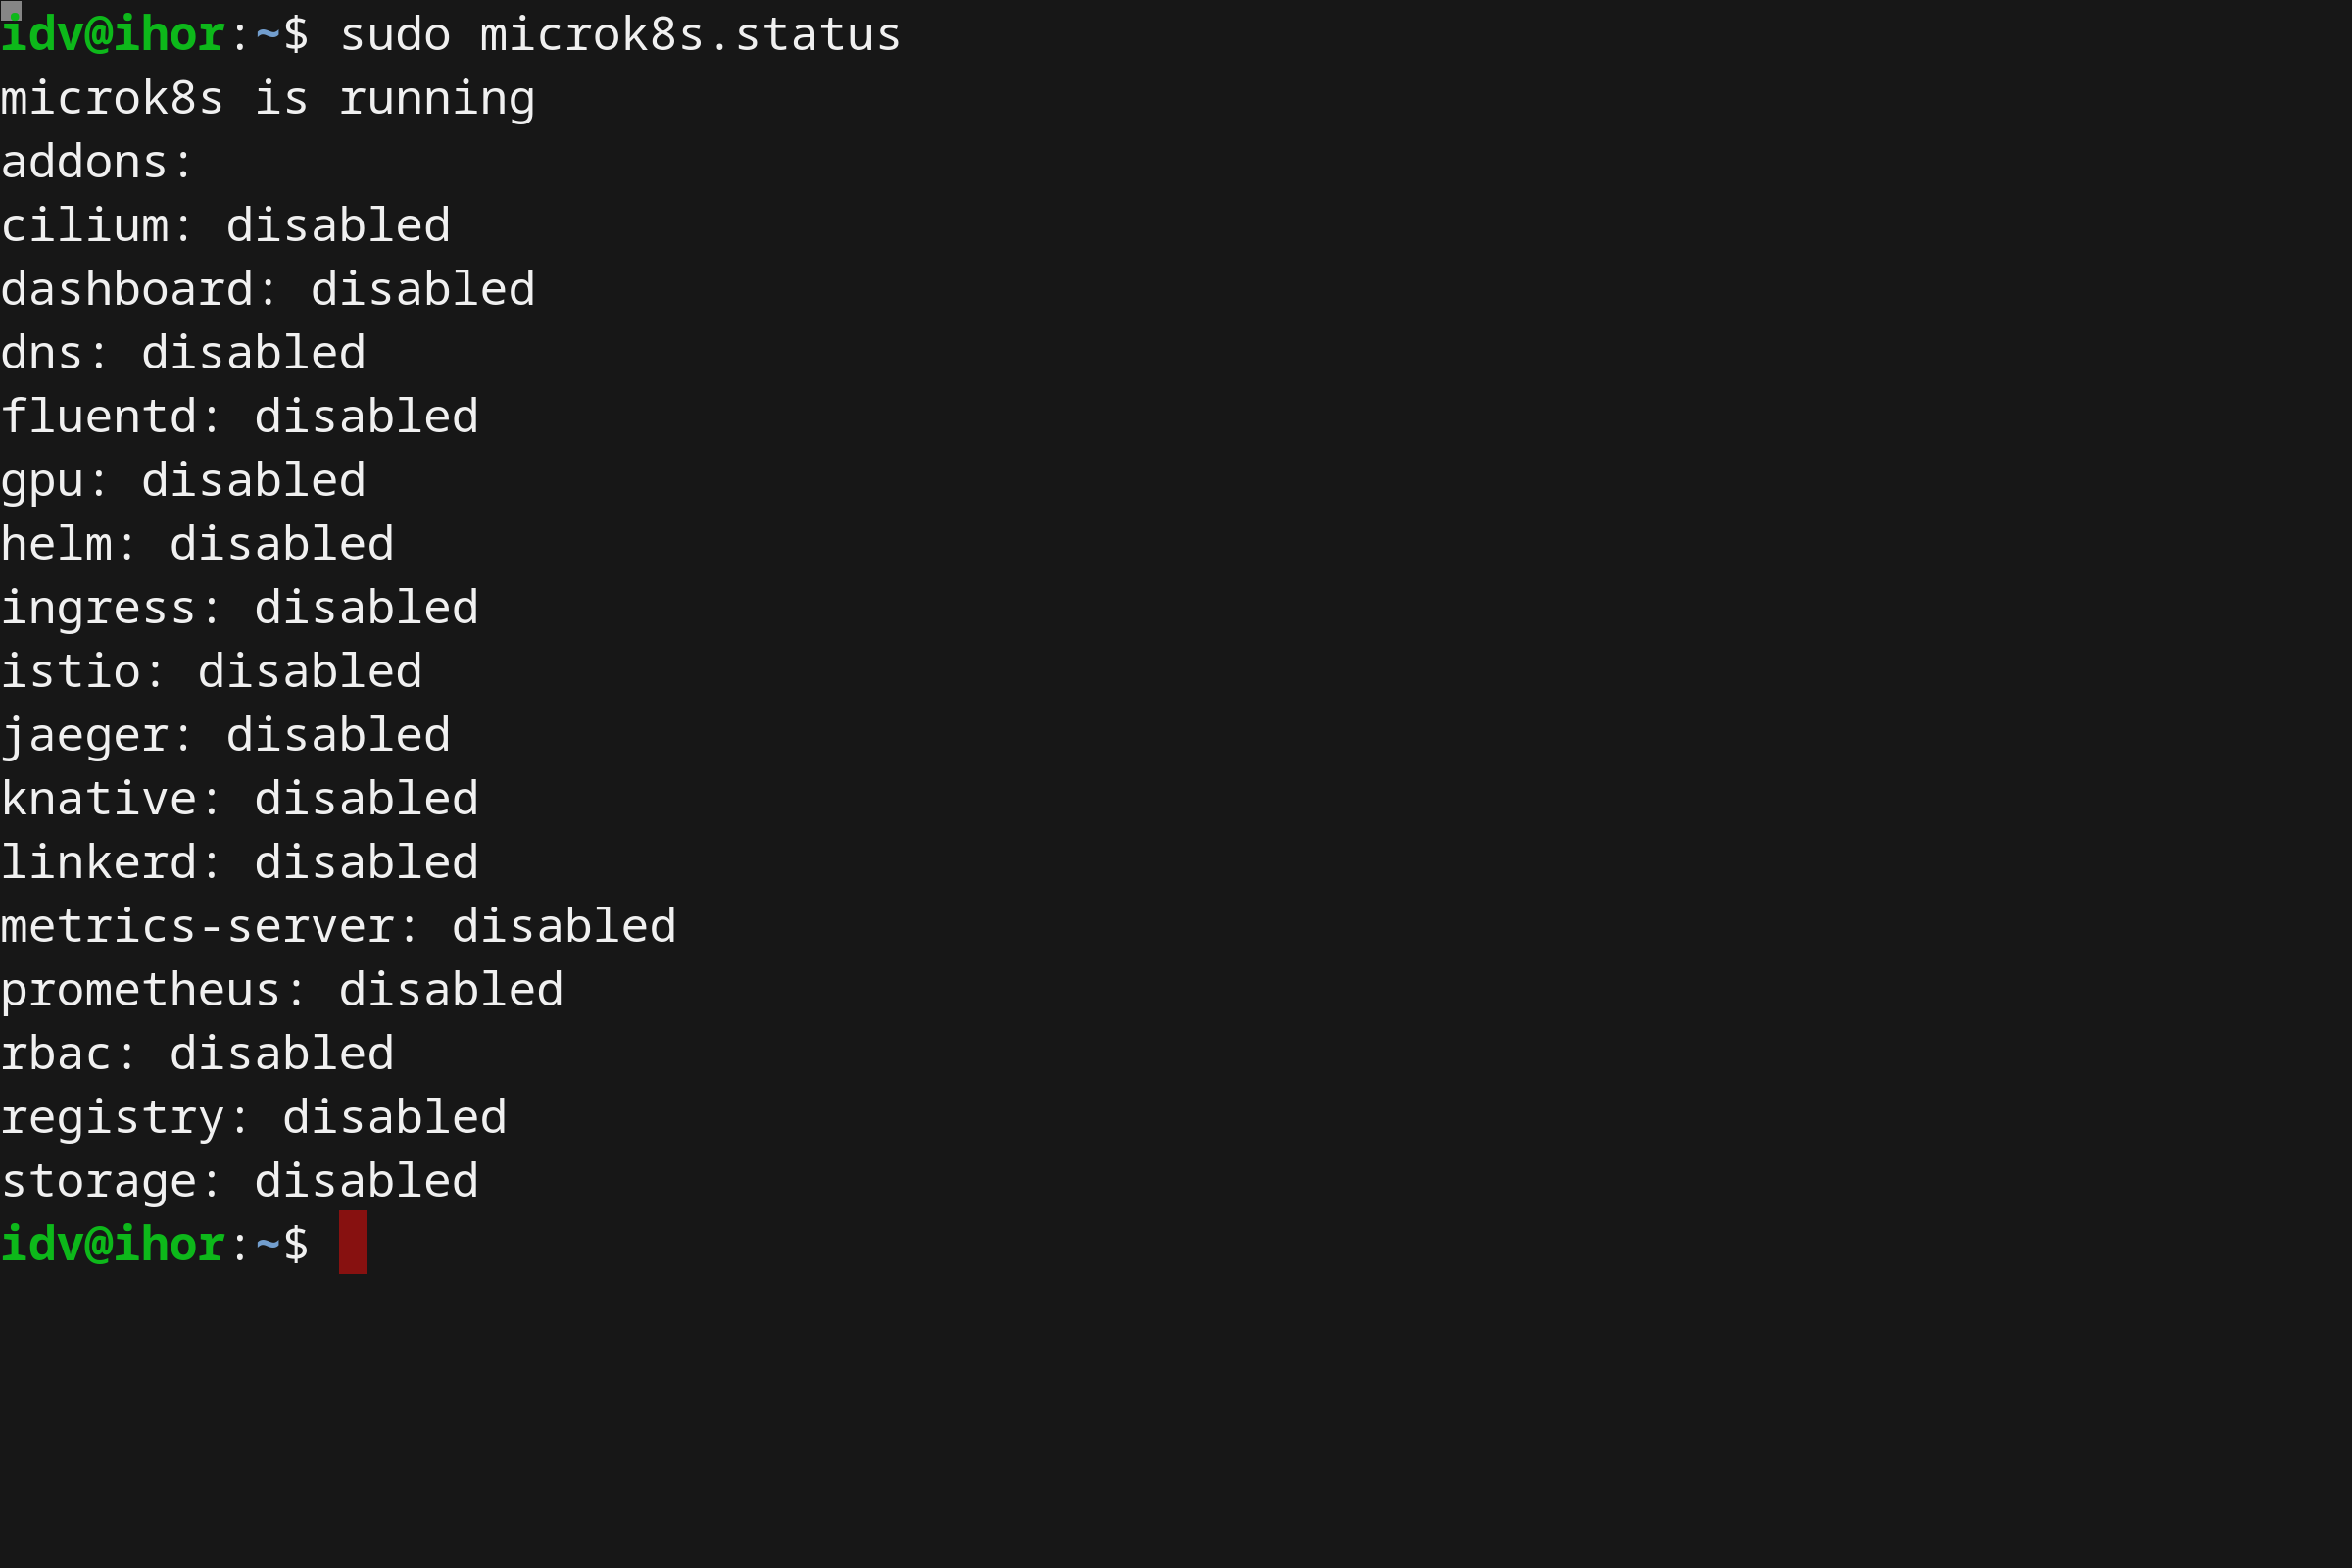
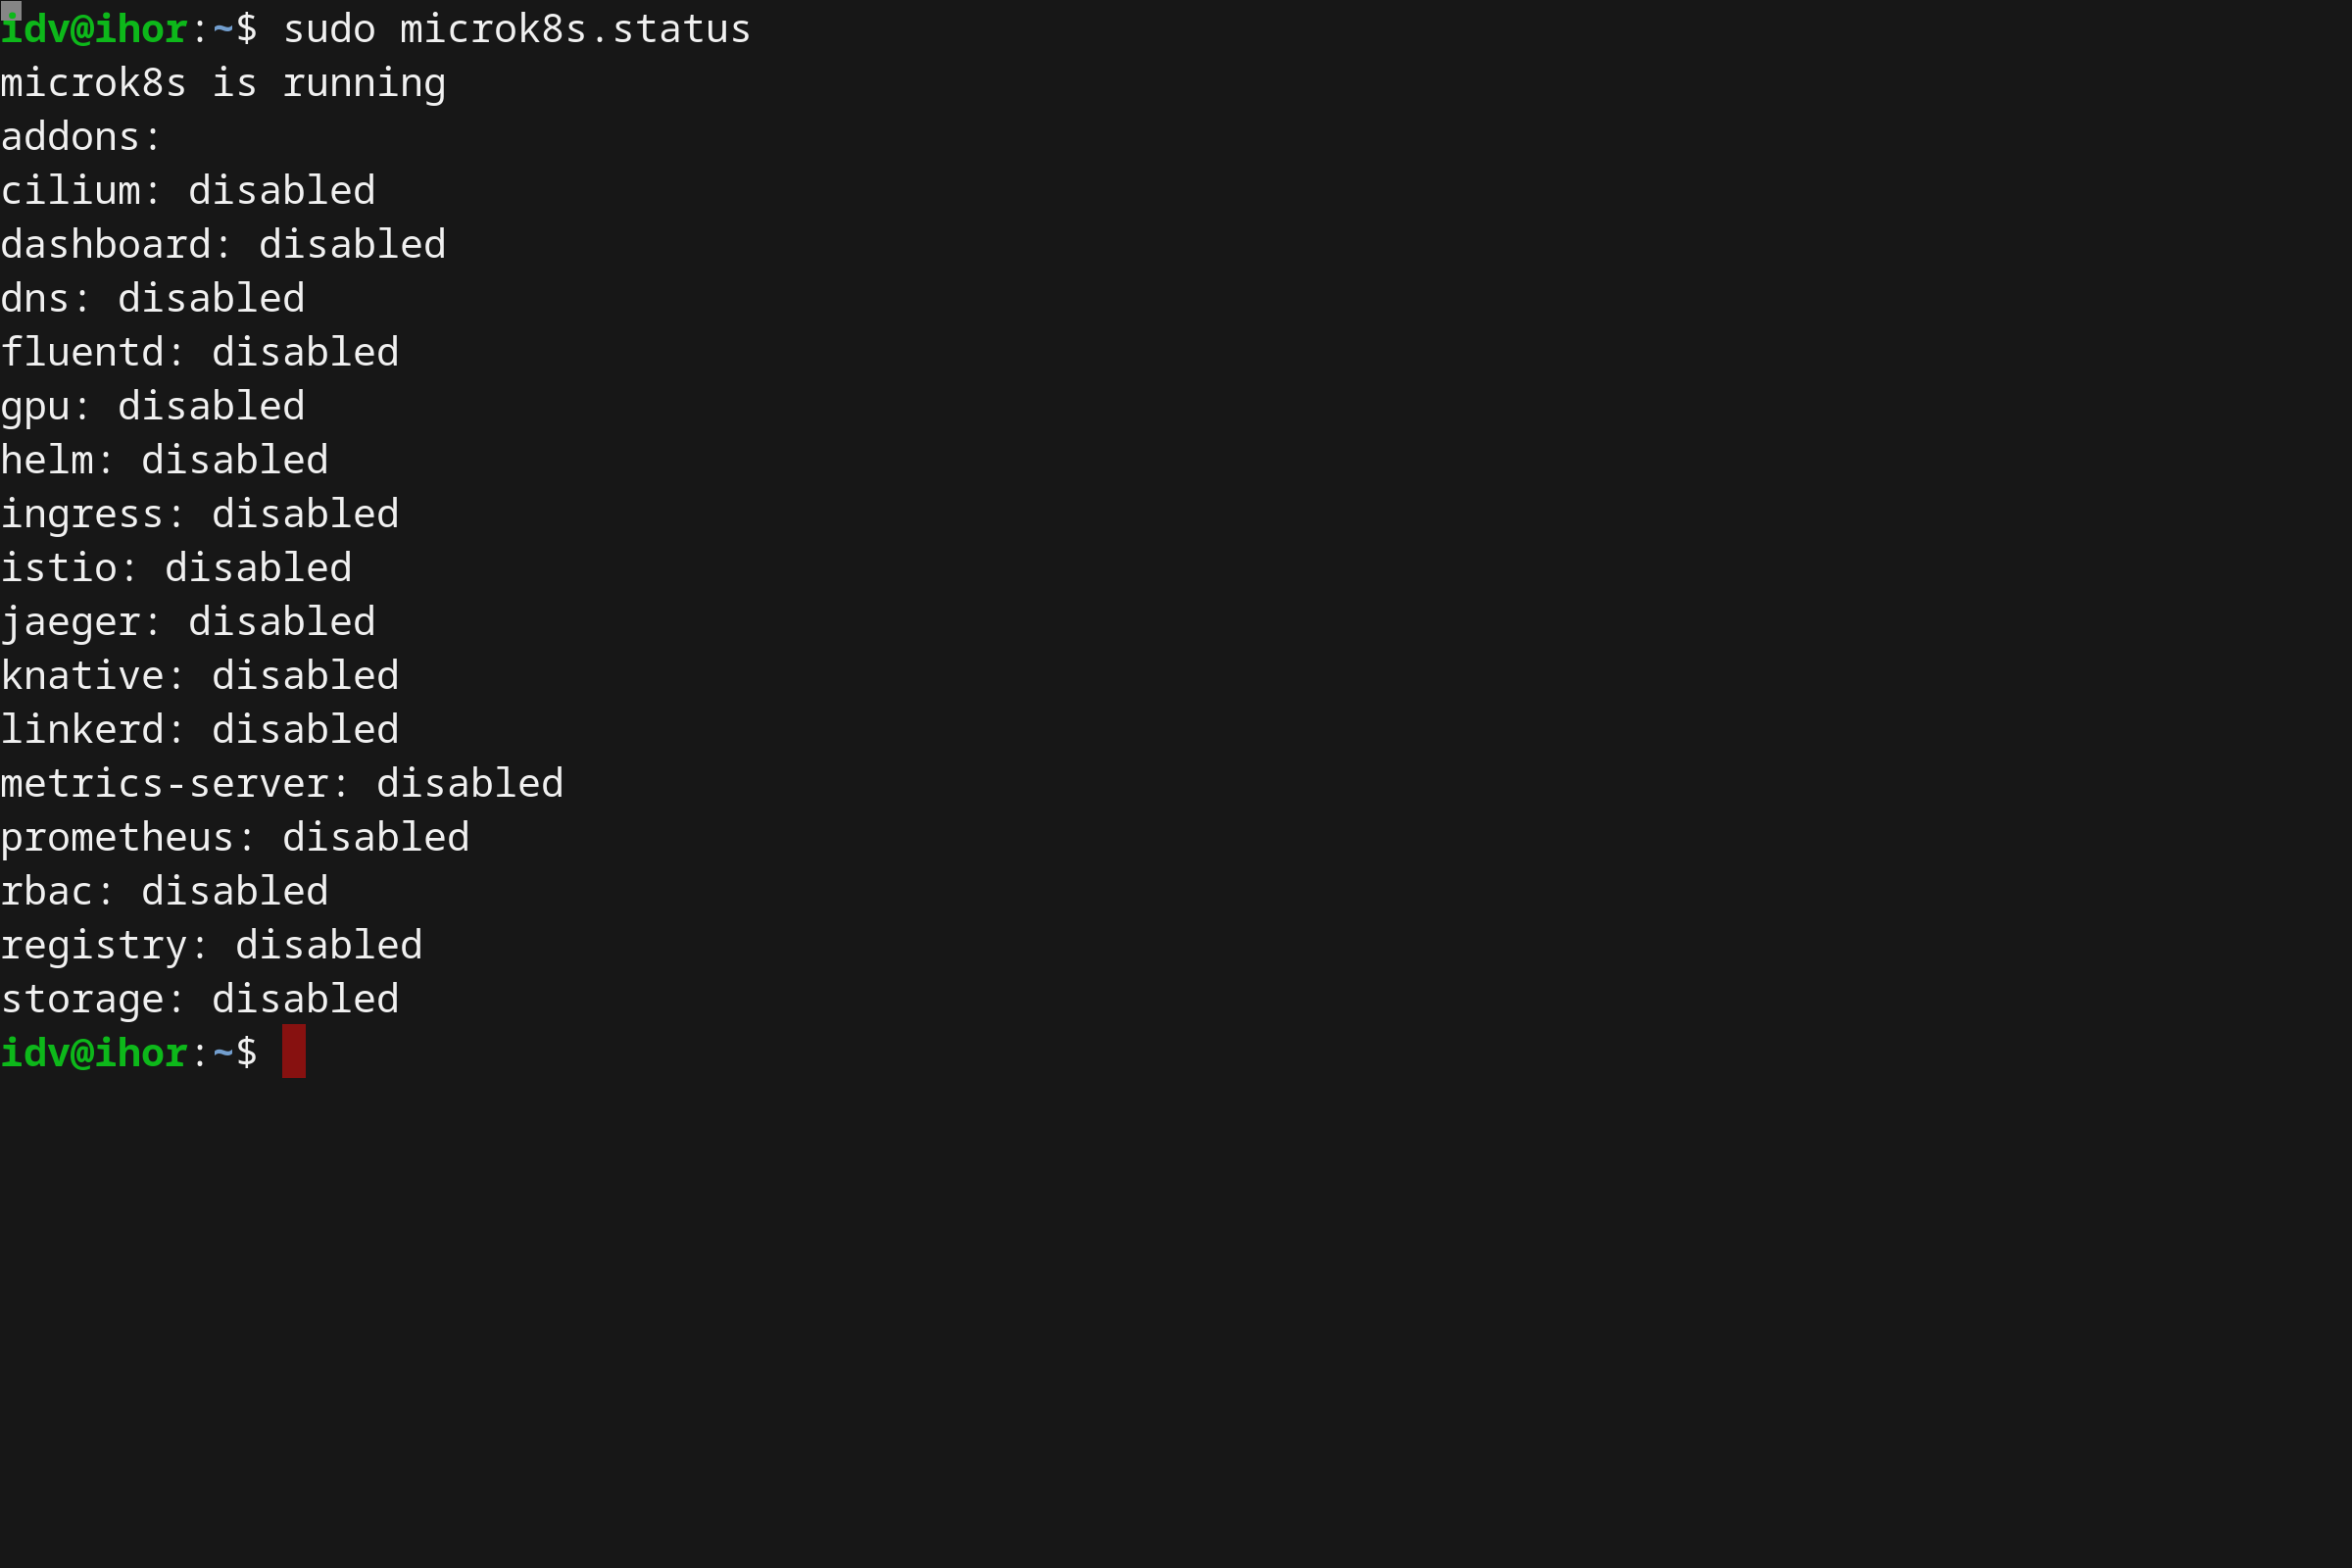
You may verify the MicroK8s status with the following command:
sudo microk8s.status
Using microk8s
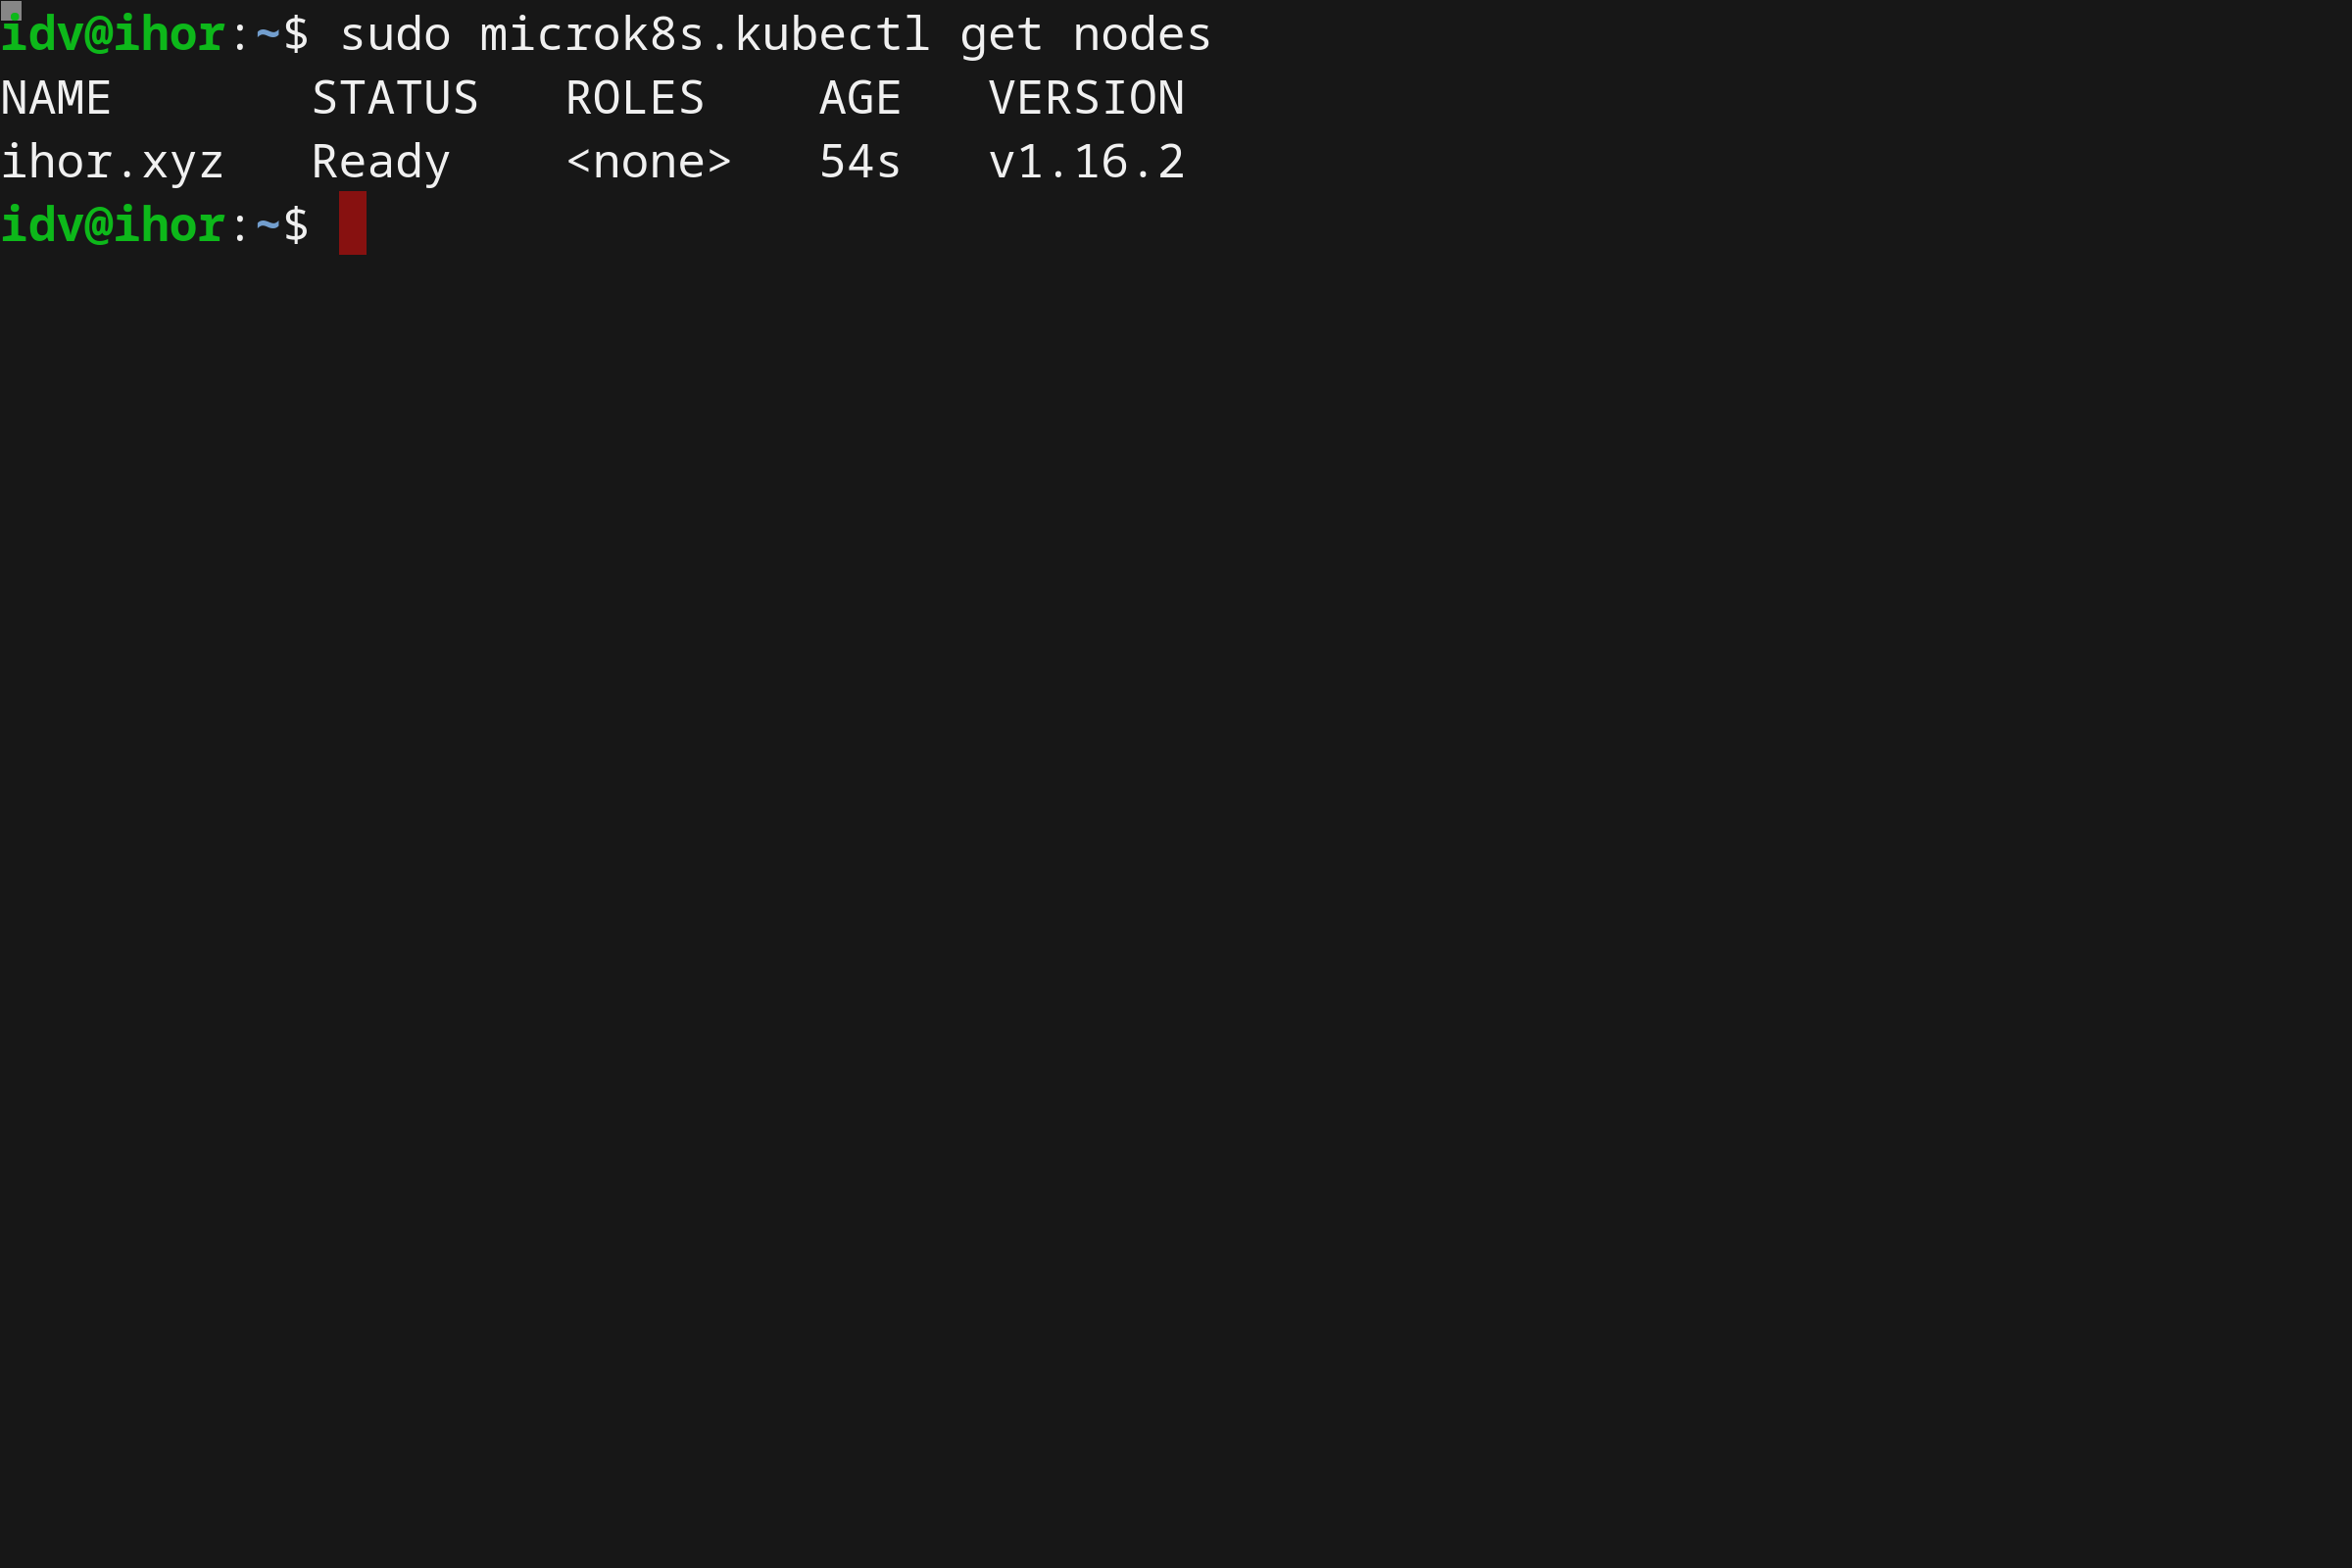
Using MicroK8s is as straightforward as installing it. MicroK8s itself includes a kubectl binary, which can be accessed by running the microk8s.kubectl command. As an example:
microk8s.kubectl get nodes
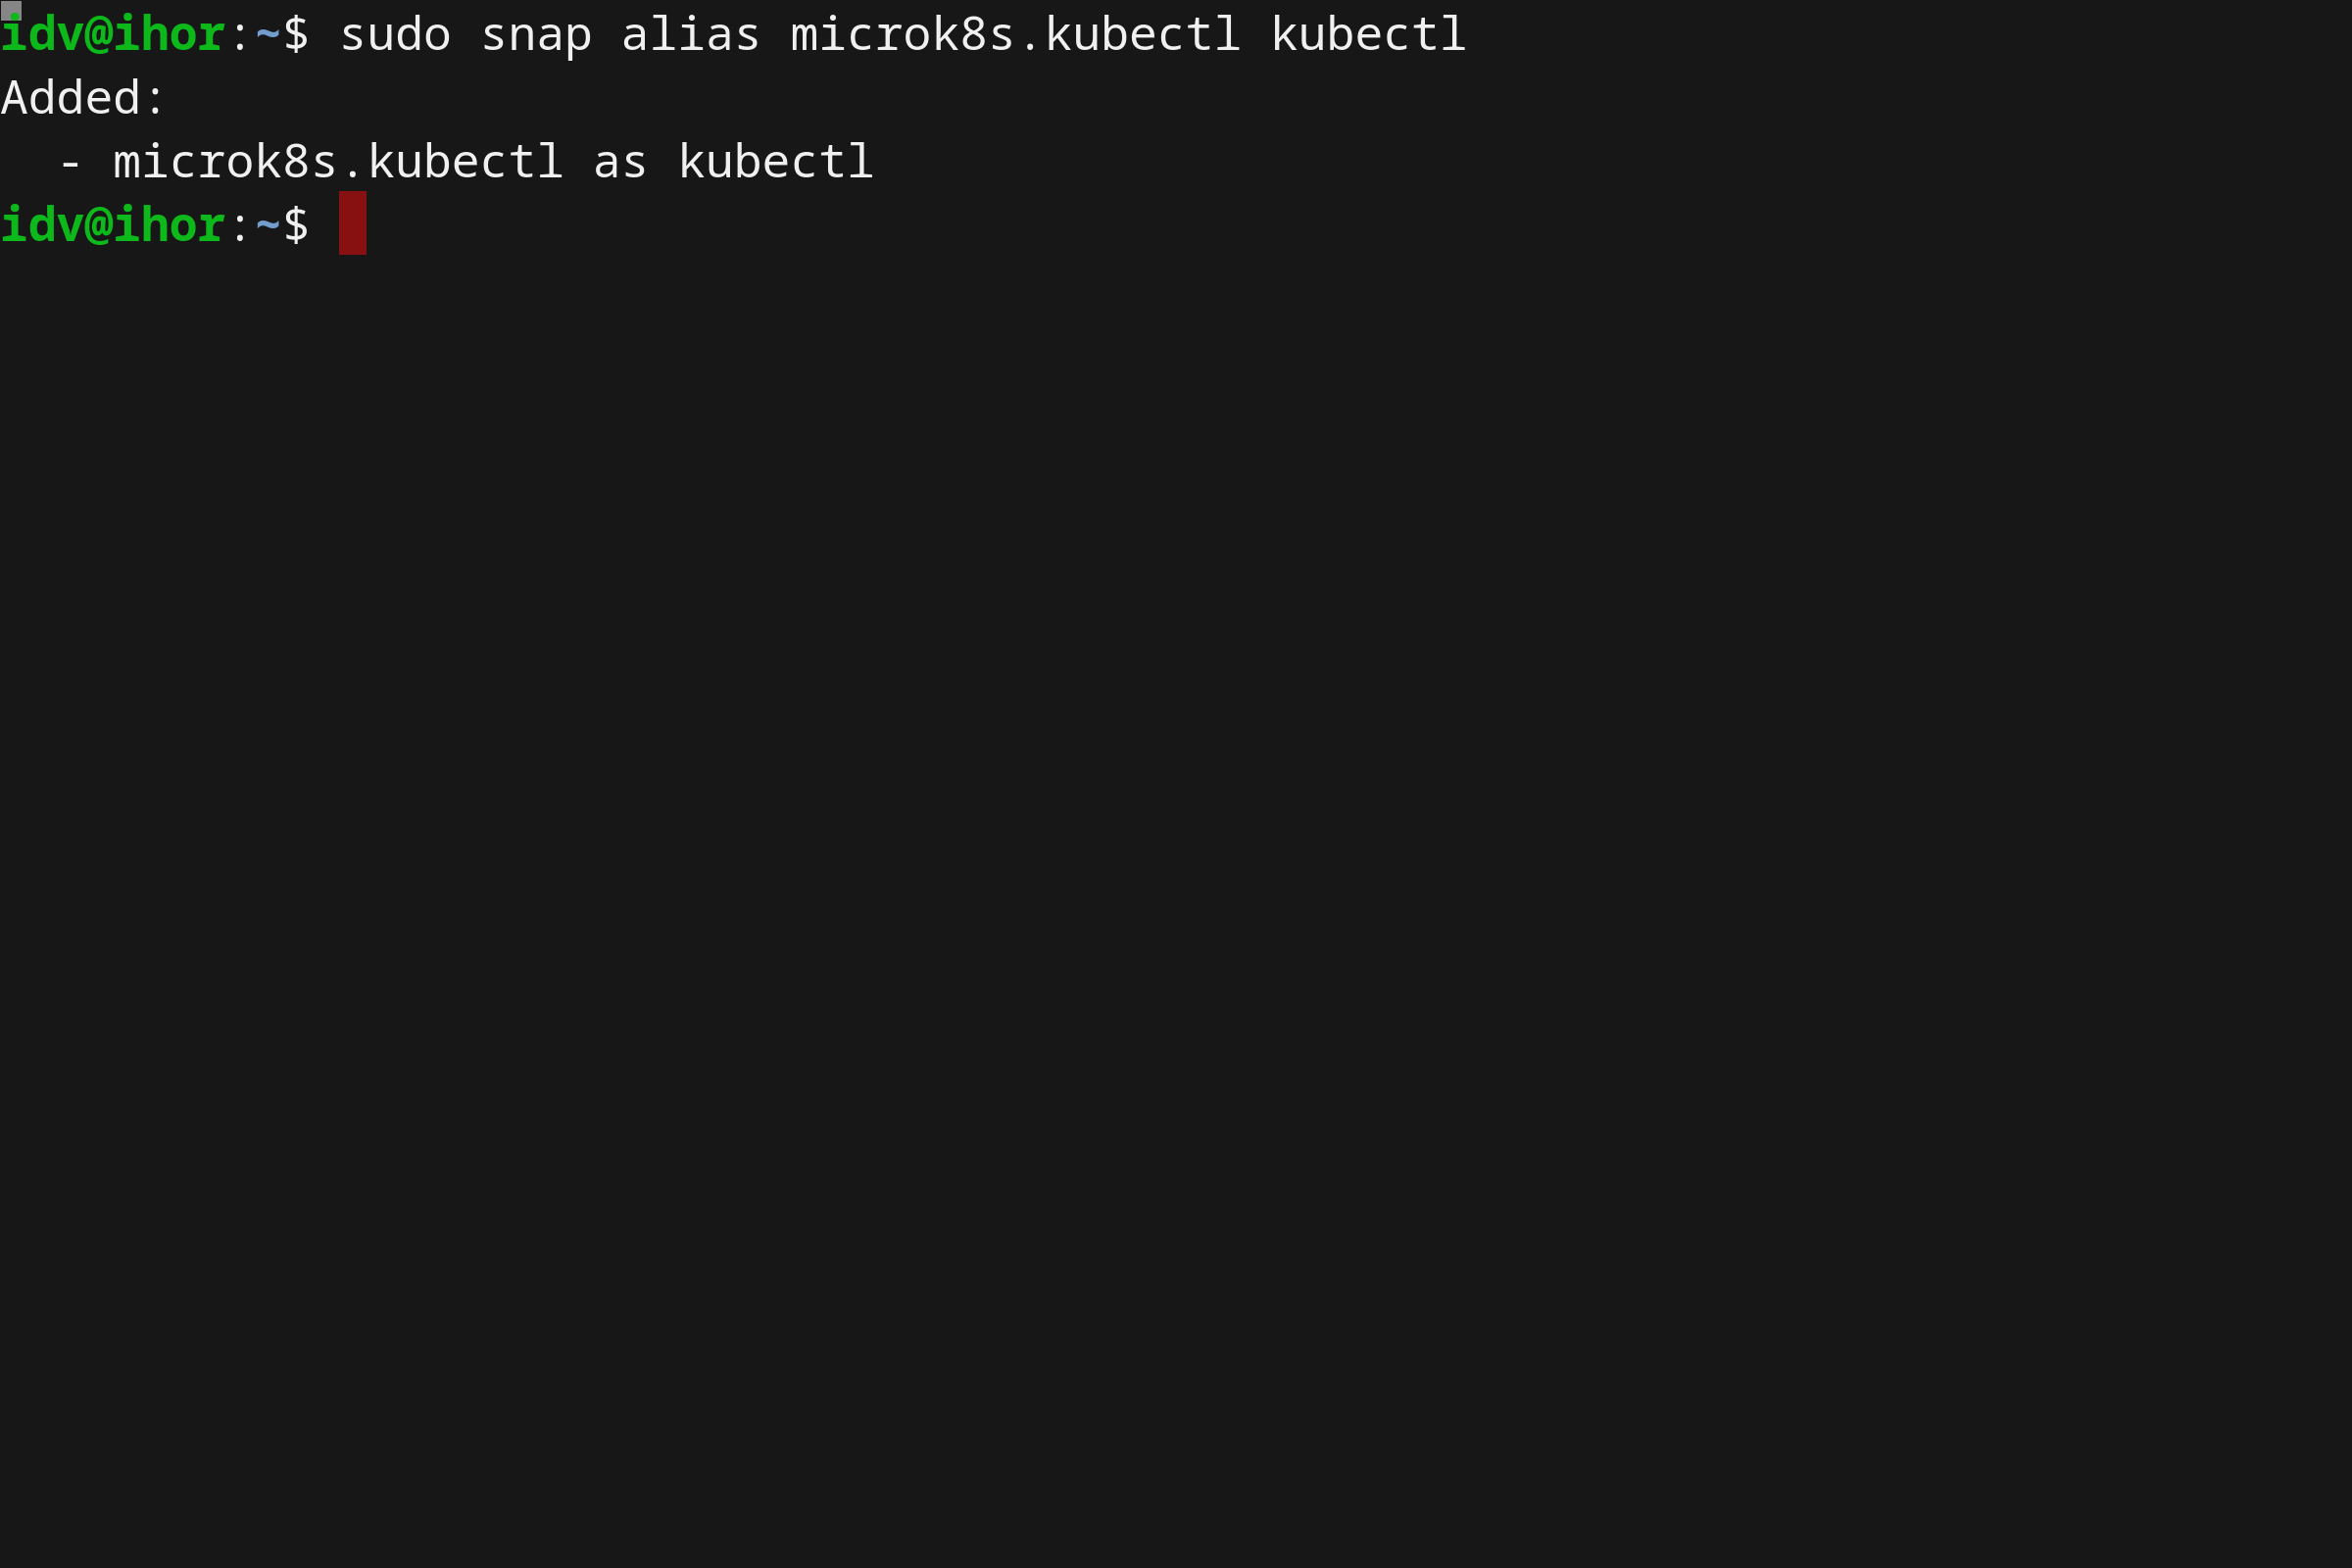
While using the prefix microk8s.kubectl allows for a parallel install of another system-wide kubectl without impact, you can easily get rid of it by using the snap alias command:
sudo snap alias microk8s.kubectl kubectl
This will allow you to simply use kubectl after. You can revert this change using the snap unalias command.
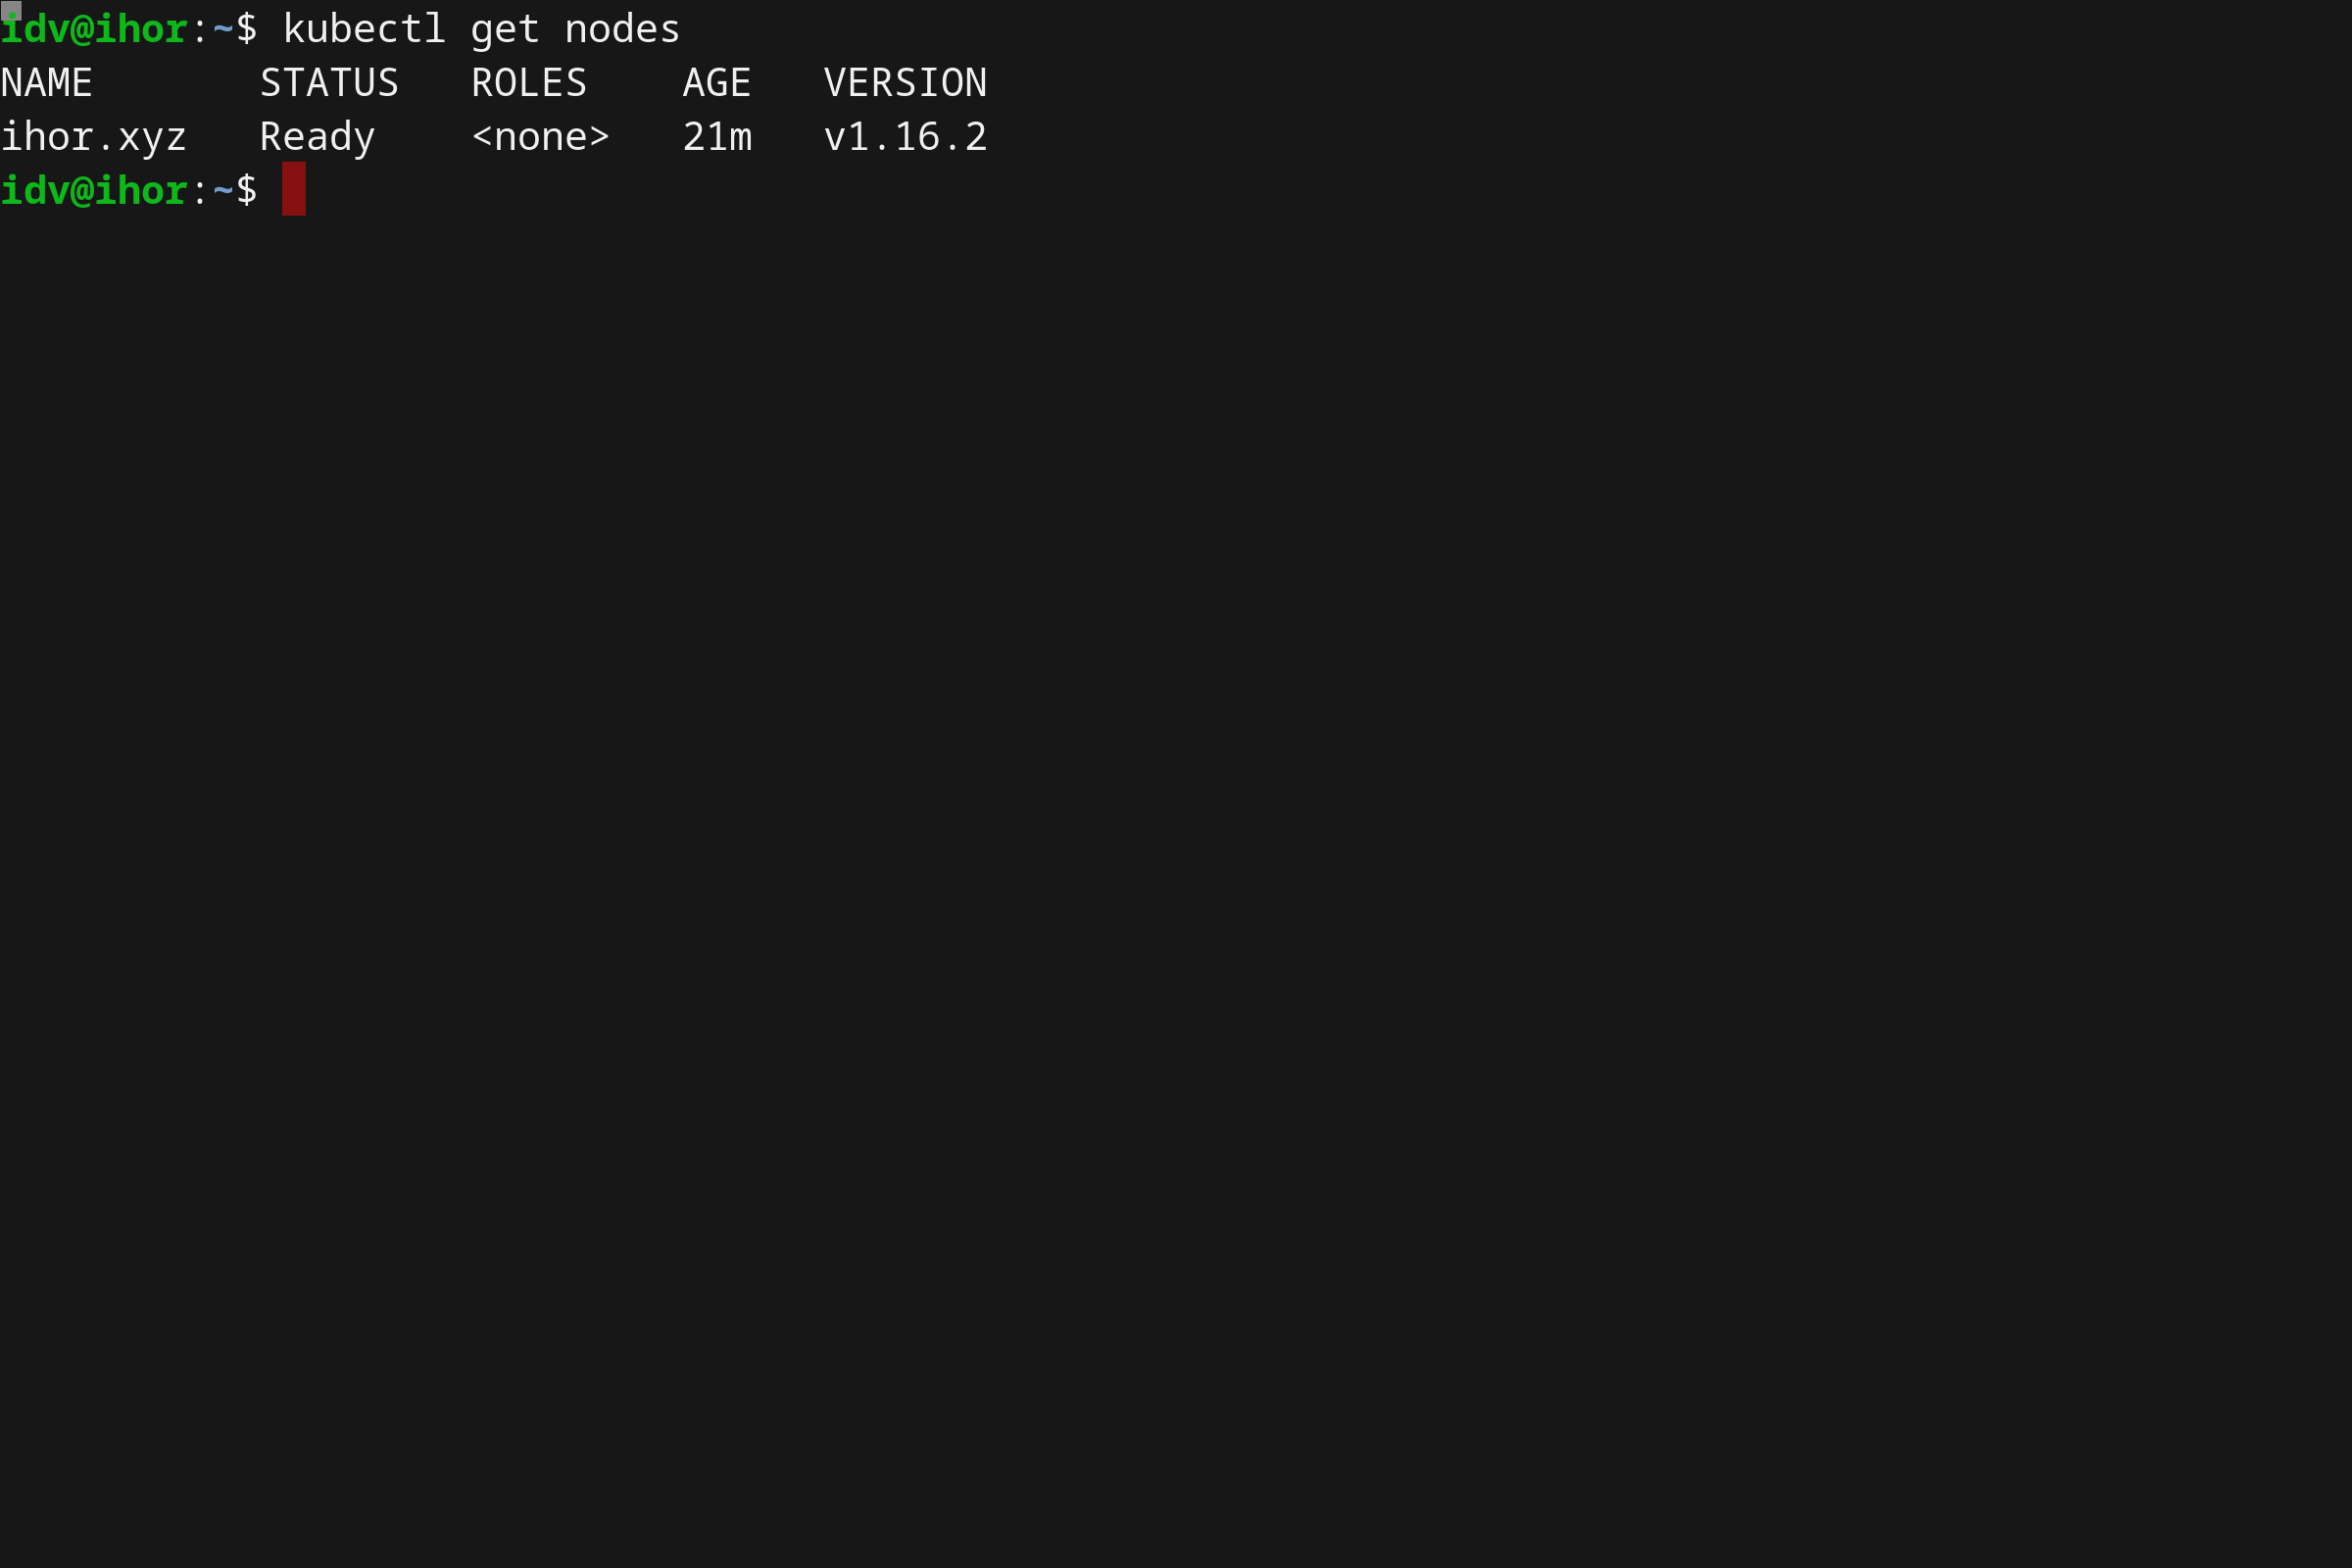
kubectl get nodes
MicroK8s addons
One of the biggest benefits of using Microk8s is the fact that it also supports various add-ons and extensions. What is even more important is they are shipped out of the box, the user just has to enable them.
The full list of extensions can be checked by running the microk8s.status command:
sudo microk8s.status
As of the time of writing this article, the following add-ons are supported:
More add-ons are being created and contributed by the community all the time, it definitely helps to check often!
Release channels
sudo snap info microk8s
Installing the sample application
In this tutorial we’ll use NGINX as a sample application (the official Docker Hub image).
It will be installed as a Kubernetes deployment:
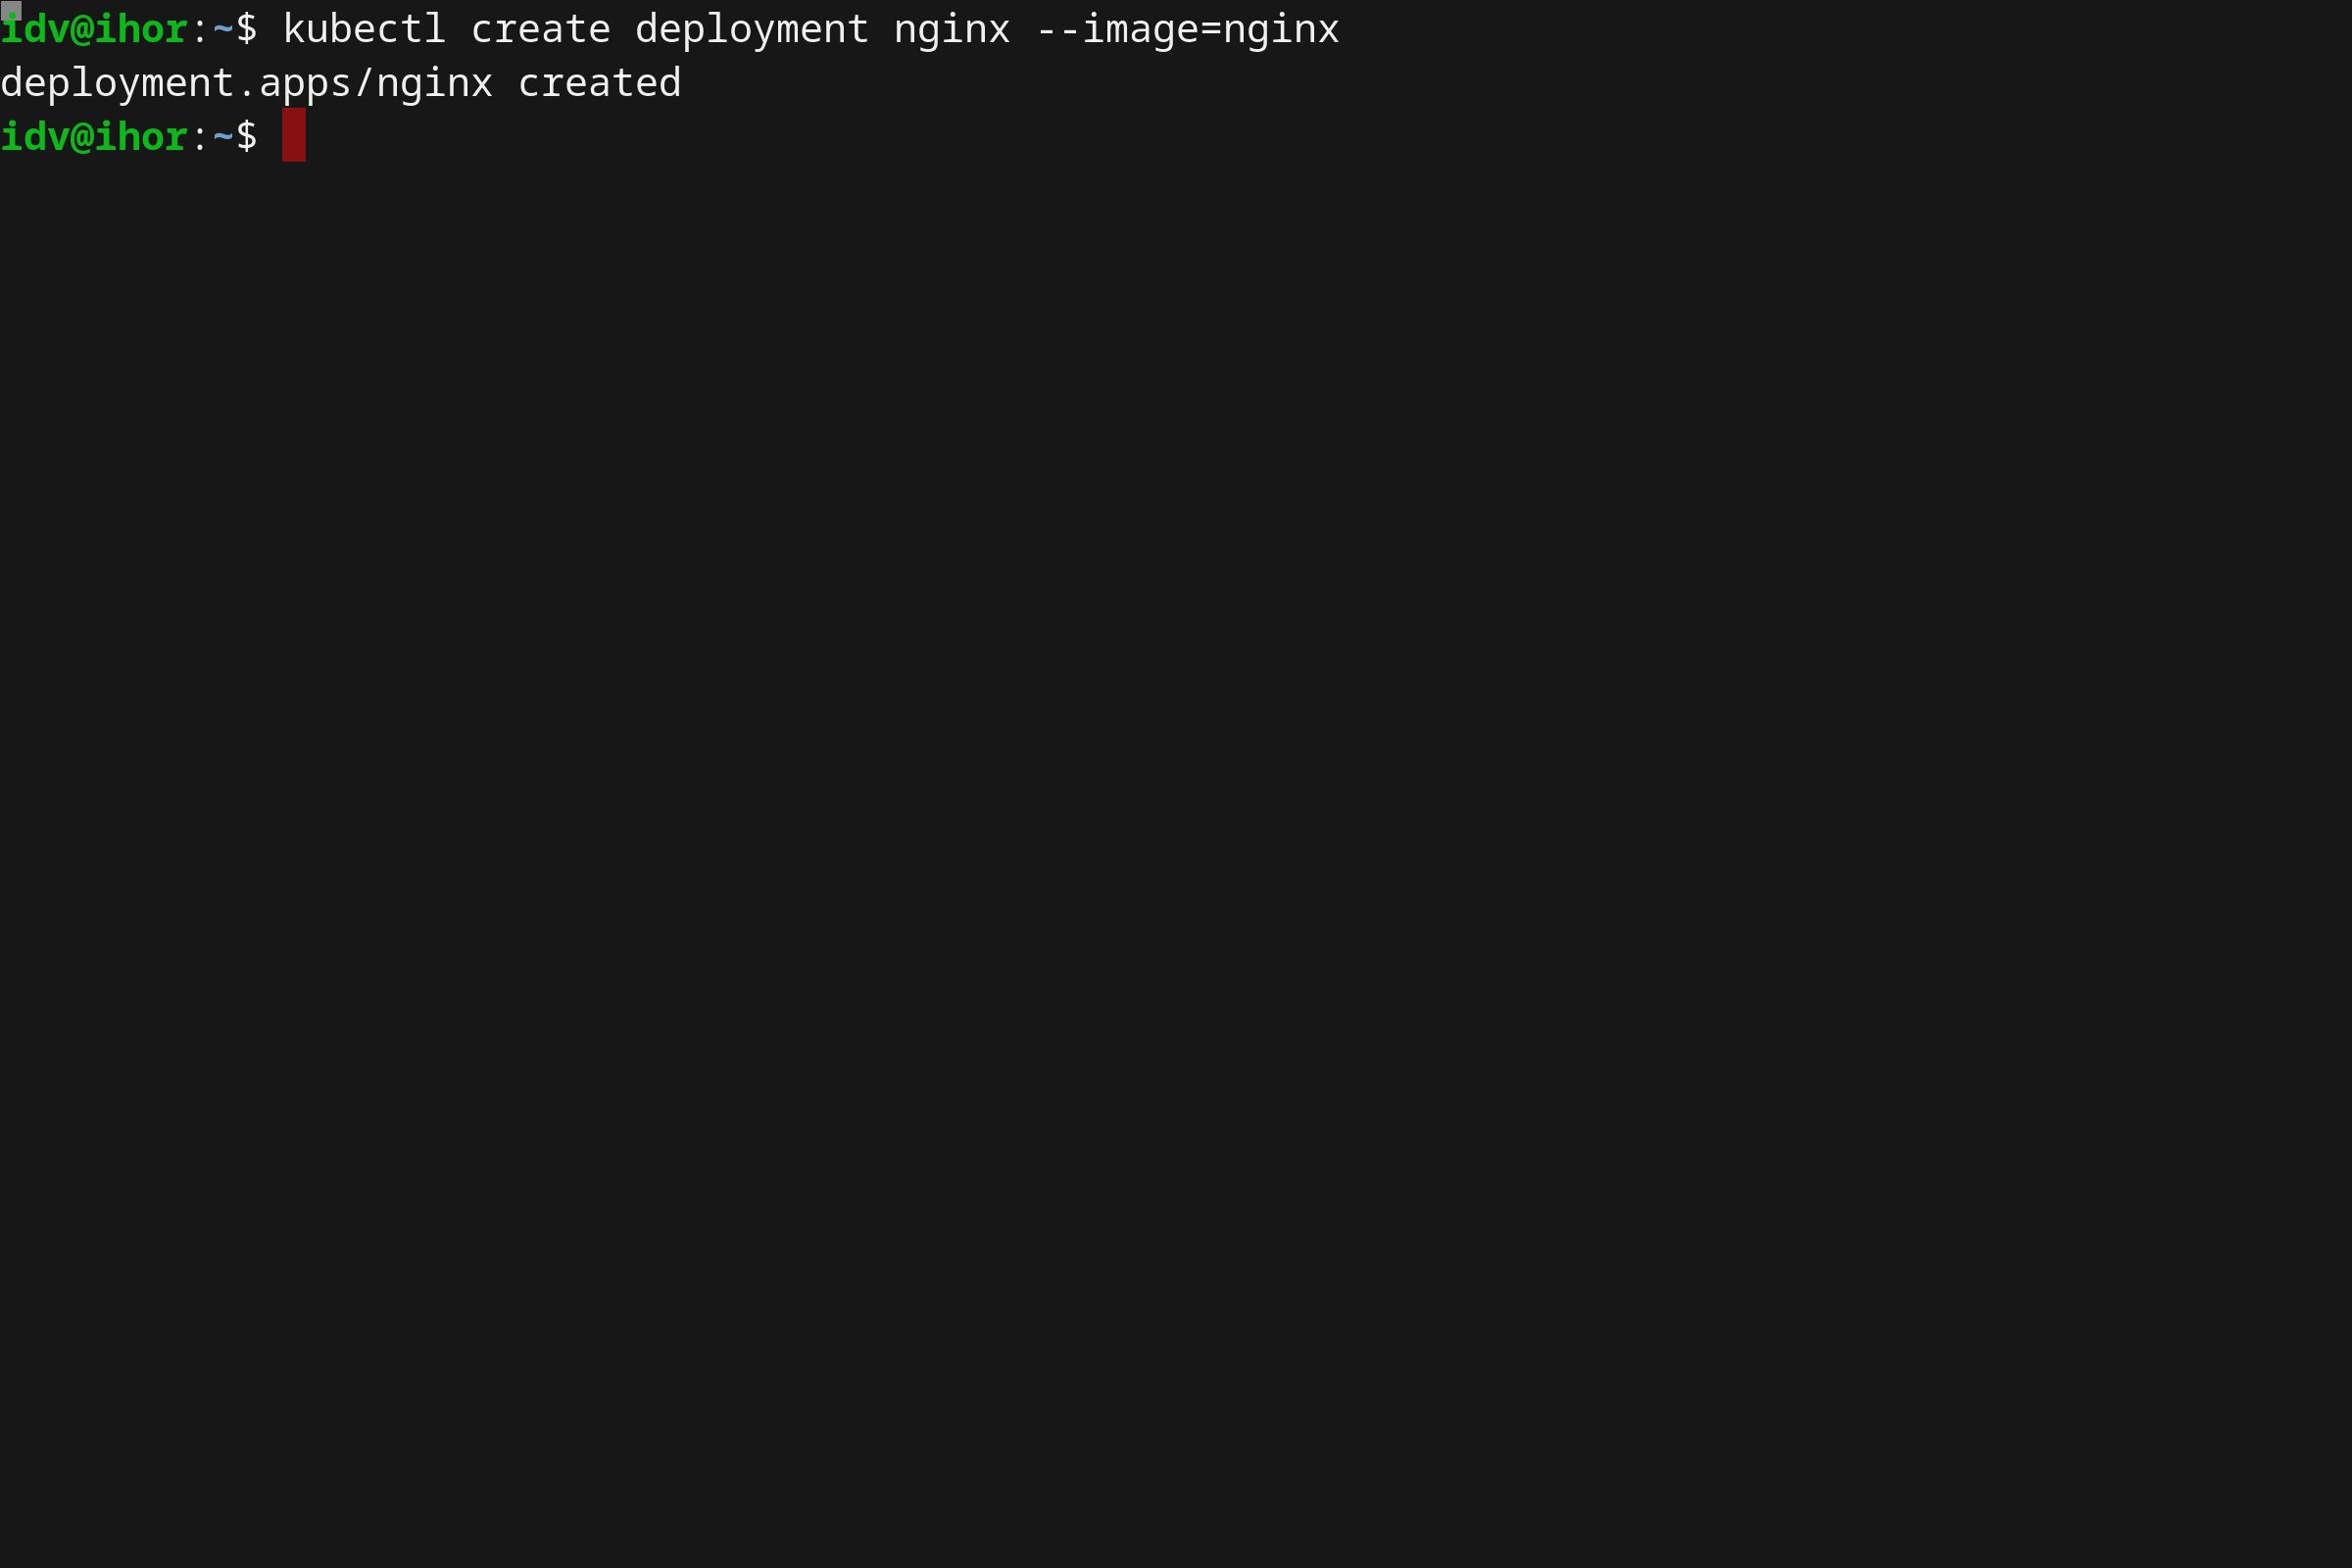
kubectl create deployment nginx --image=nginx
To verify the installation, let’s run the following:
kubectl get deployments
kubectl get pods
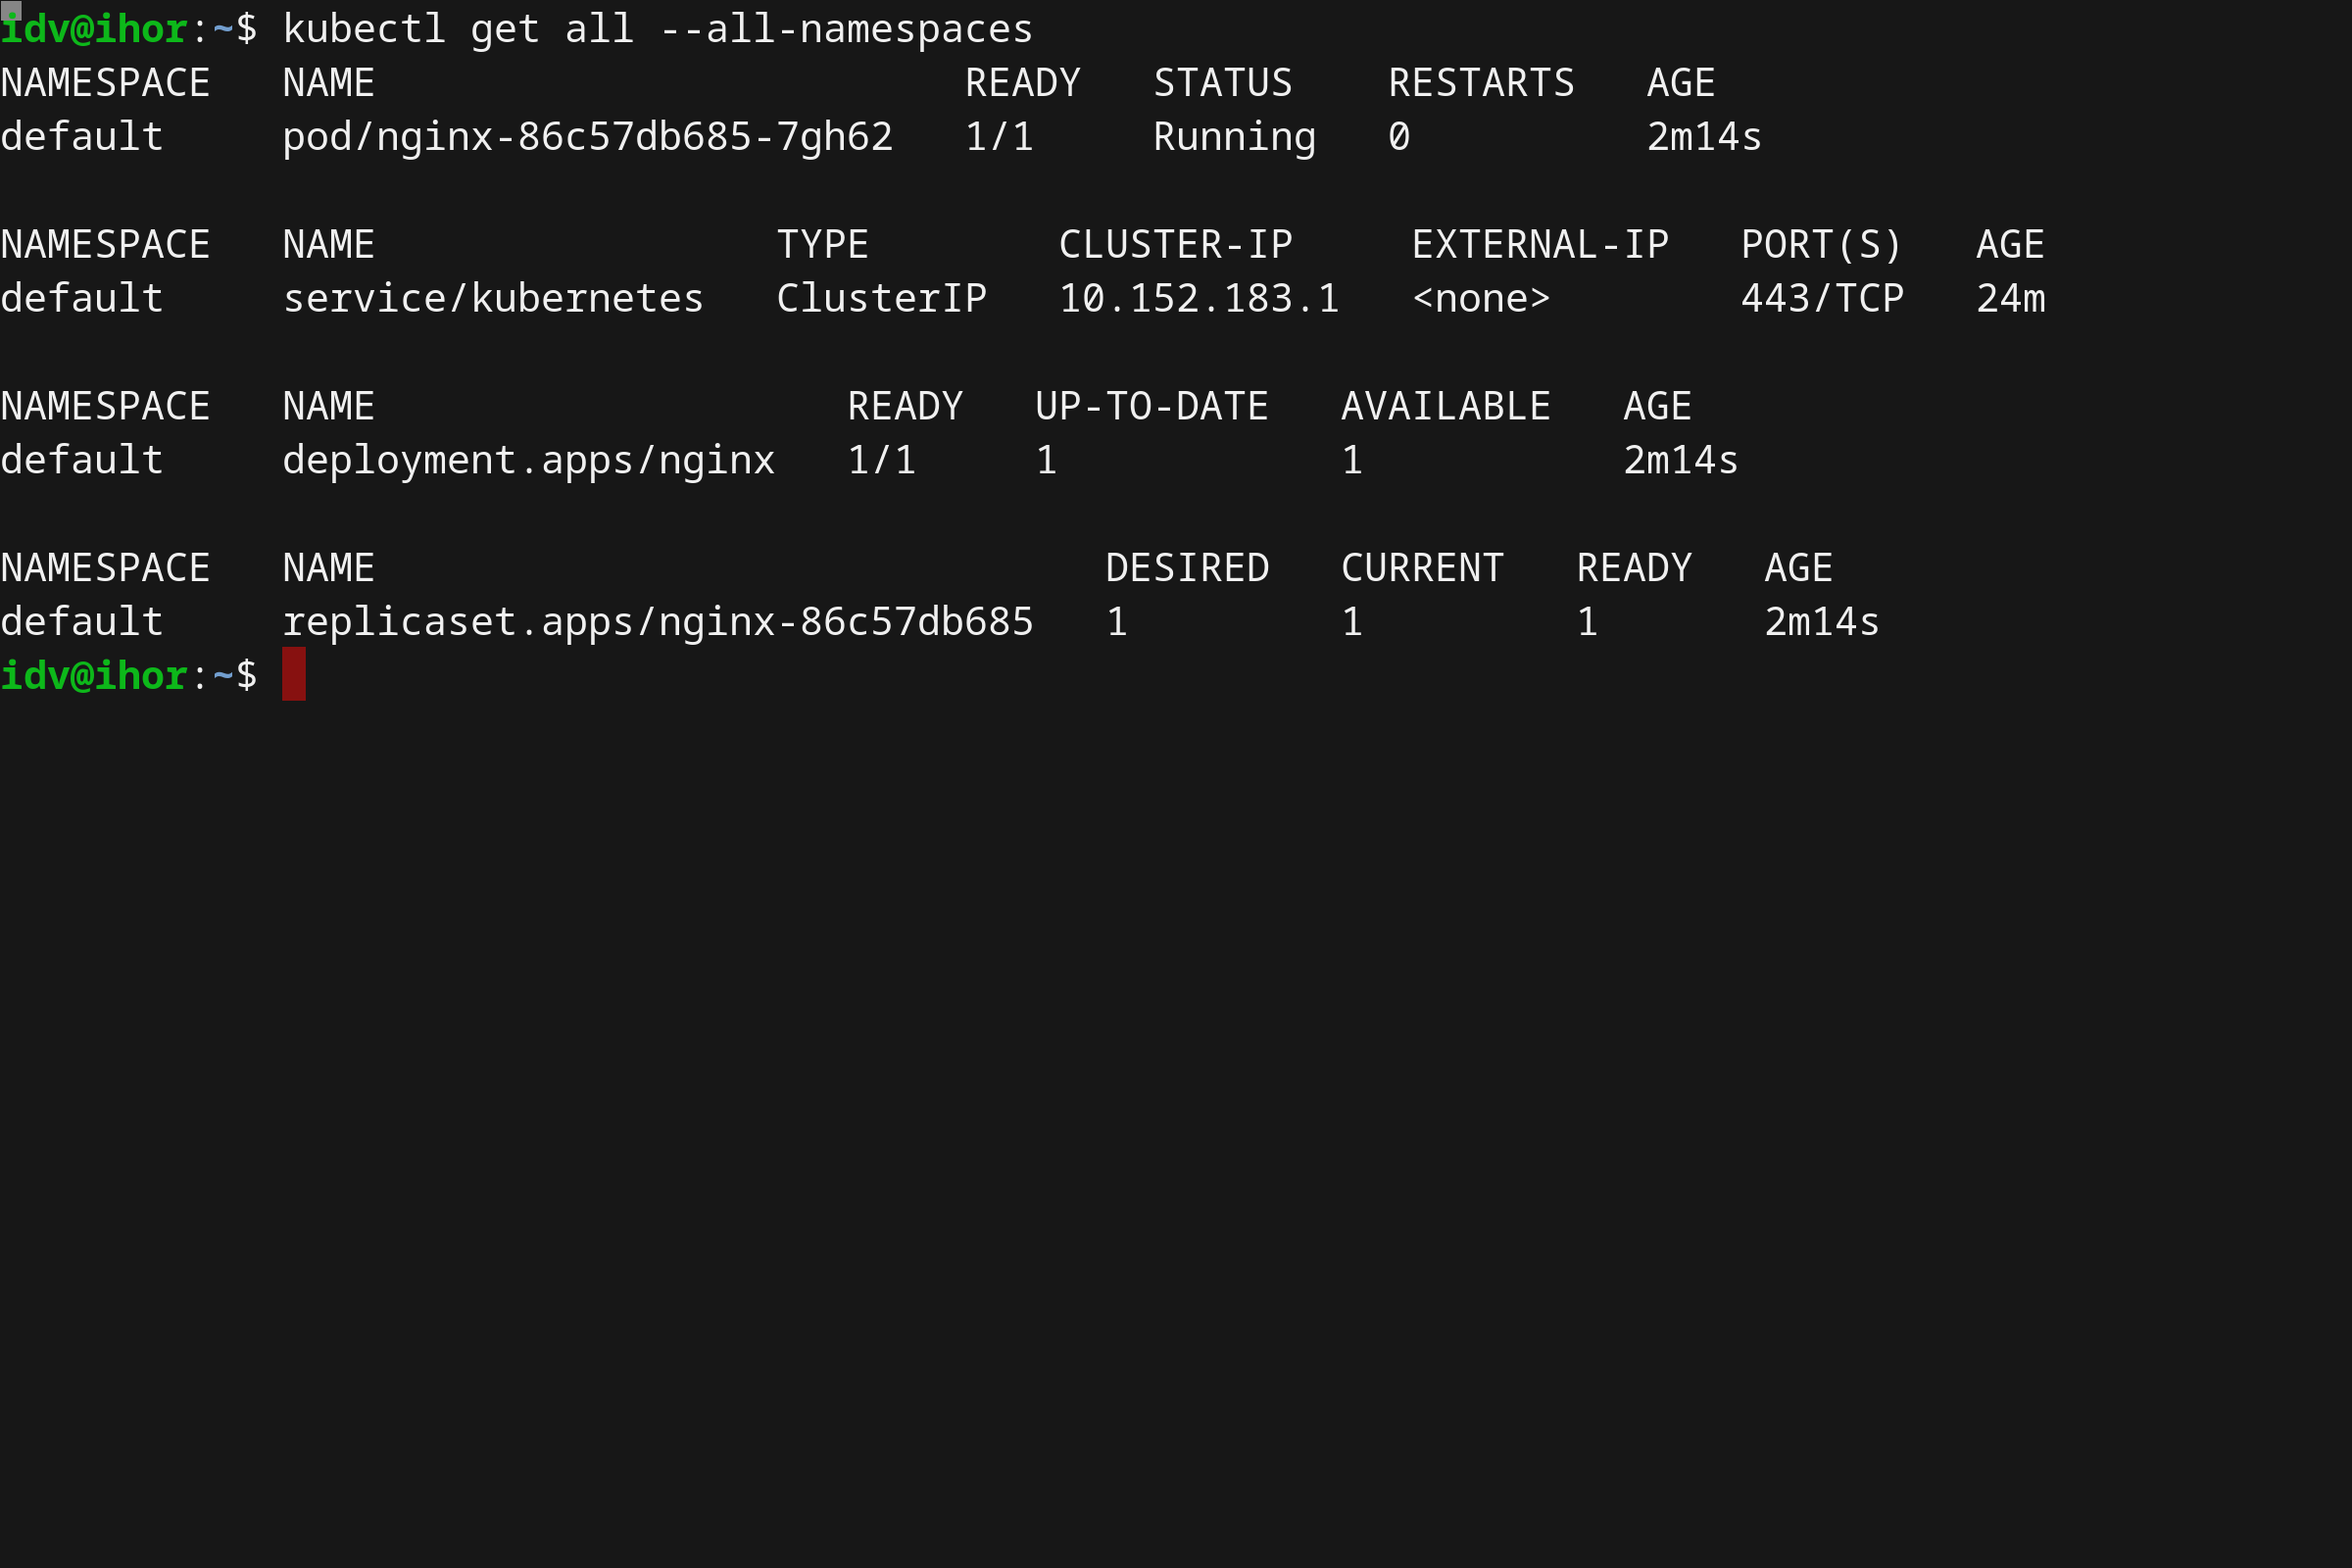
Also, we can retrieve the full output of all available objects within our Kubernetes cluster:
kubectl get all --all-namespaces
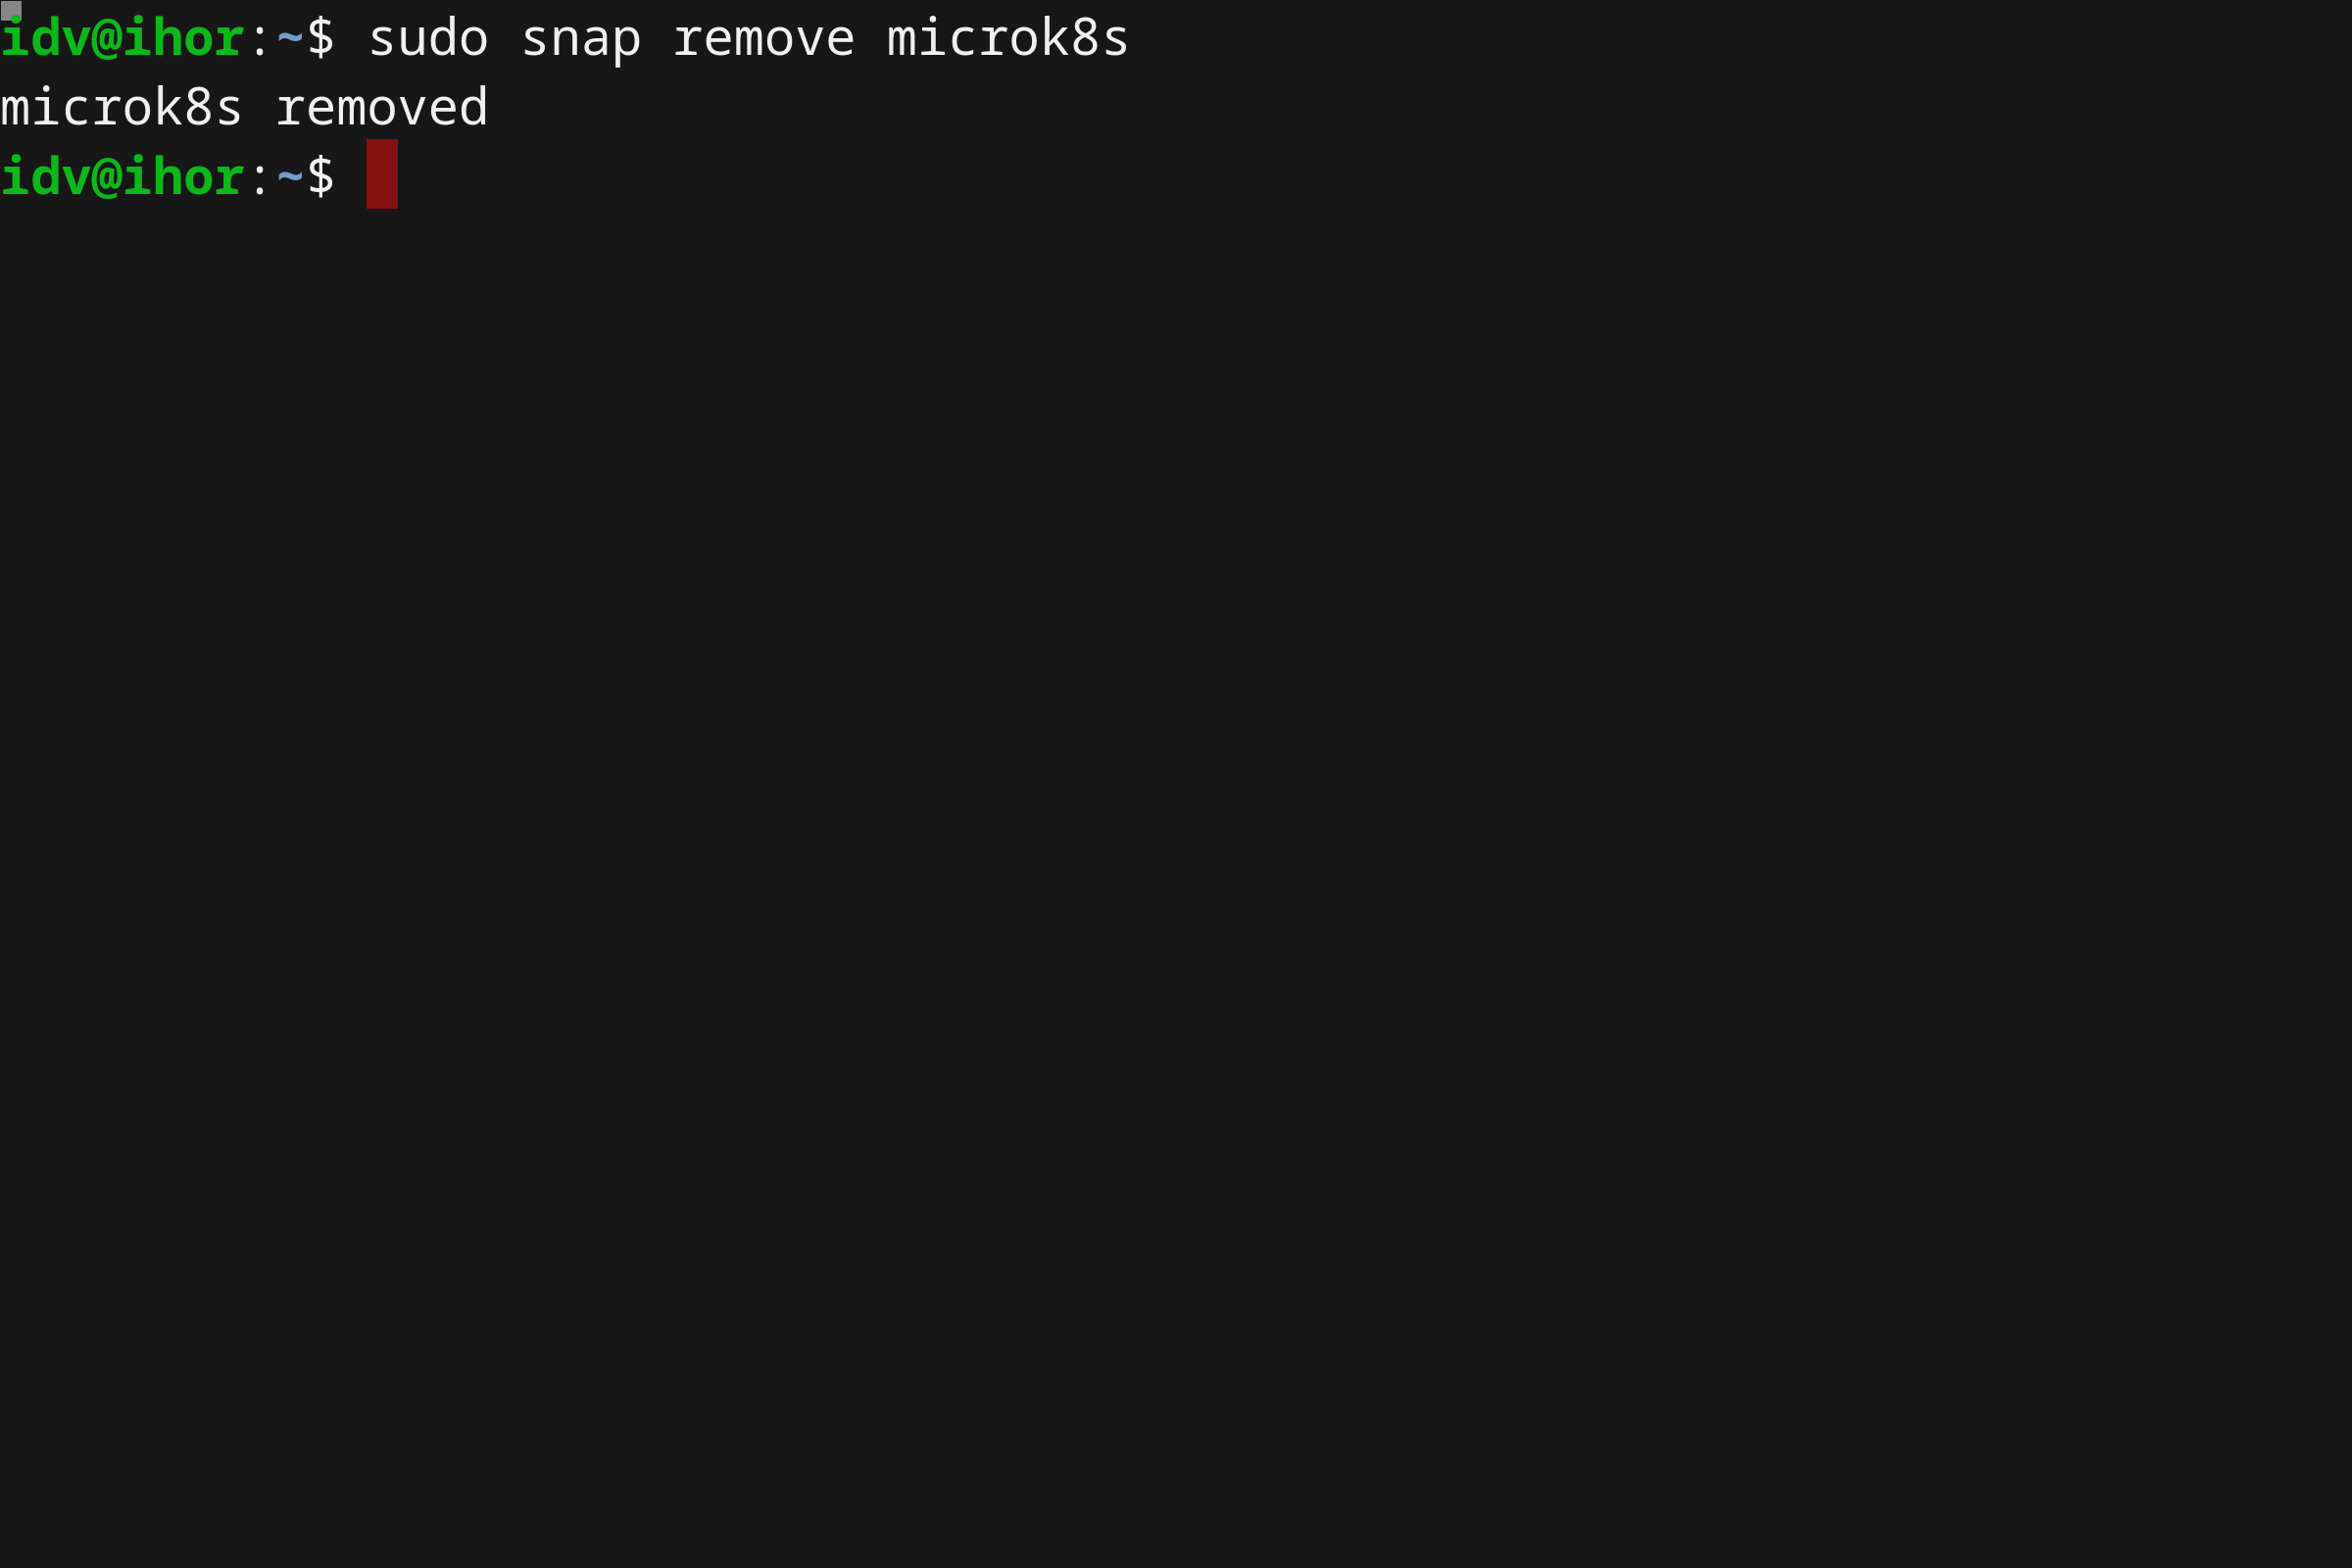
Uninstalling MicroK8s
Uninstalling your microk8s cluster is so easy as uninstalling the snap:
sudo snap remove microk8s
Screencast
